Loaded Nachos Recipe
Highlighted under: Warm Comfort Table
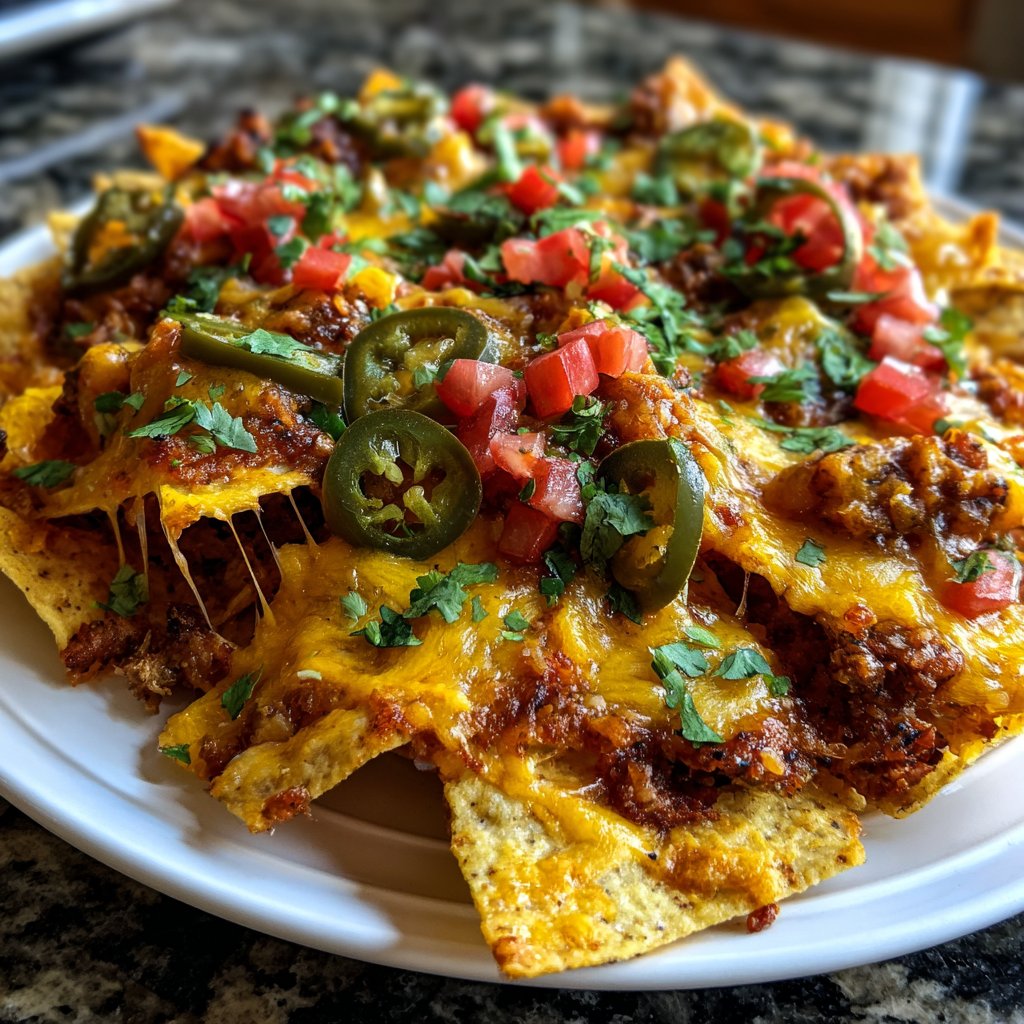
I absolutely love nachos, and this Loaded Nachos Recipe is my go-to for any gathering. Every layer is packed with flavor, from the crunchy tortilla chips to the melted cheese and zesty toppings. Whether it’s game day or a casual movie night, I find that everyone enjoys diving into this delicious plate. I particularly love how easy it is to customize with favorite ingredients, making it a versatile dish everyone can enjoy. It’s the ultimate comfort food that brings friends and family together!
When I first tried making loaded nachos at home, I was surprised at how easily they turned out better than takeout! The secret lies in layer crunchiness and flavor balance. I found that combining various melted cheeses creates a creamy, cheesy goodness that sticks to every chip. Adding fresh ingredients like jalapeños and cilantro gives every bite a kick and depth of flavor.
One of my favorite tips is to bake the nachos instead of just microwaving them. Baking allows the cheese to bubble perfectly while keeping the chips crispy. Top with homemade guacamole and salsa for an irresistible treat!
Why You'll Love This Recipe
- A fantastic blend of textures and flavors in each bite.
- Easily customizable for any dietary preference.
- Great for sharing with friends and family during events.
Choosing the Right Ingredients
While tortilla chips are the backbone of your nachos, opting for high-quality, thicker chips can significantly enhance your experience. Look for restaurant-style tortilla chips, as they are sturdy enough to hold up under the weight of melted cheese and toppings. If you want to swap things up, consider making your own baked tortilla chips for a fresher taste and a healthier alternative.
Cheese plays a crucial role in achieving that gooey, stretchy texture that defines nachos. I always recommend combining cheddar and mozzarella. The sharpness of cheddar complements the creaminess of mozzarella perfectly. If you're looking for lower-fat options, use part-skim versions. For a dairy-free alternative, you can explore plant-based cheeses that melt well, although they may have varying flavors.
Layering for Maximum Flavor
The way you layer your nachos can make all the difference. Start with a solid foundation of tortilla chips, followed by a generous amount of cheese to act as the glue for the toppings. When adding ingredients like jalapeños and tomatoes, be mindful of how they distribute heat. Sliced jalapeños can be added strategically only to half of the nachos if not everyone enjoys spice, allowing for a customized eating experience.
Don’t overlook the importance of fresh ingredients. Chopped green onions contribute a refreshing crunch and a burst of color. They provide contrast to the melty cheese and soften the overall richness. I highly suggest using ripe tomatoes, as they add moisture and acidity, balancing the richness of the cheese without making the chips soggy.
Ingredients
Gather your ingredients before starting for a smooth cooking experience!
Ingredients
- Tortilla chips (300g)
- Shredded cheddar cheese (200g)
- Shredded mozzarella cheese (100g)
- Sliced jalapeños (to taste)
- Diced tomatoes (1 cup)
- Chopped green onions (1/2 cup)
- Sour cream (for serving)
- Guacamole (for serving)
- Fresh cilantro (for garnish)
Make sure to have all your toppings ready to enjoy your nachos fresh out of the oven!

Instructions
Preheat your oven to get that perfect bake!
Prepare the Base
Spread a layer of tortilla chips on a large baking sheet, ensuring they cover the bottom evenly.
Add Cheese
Sprinkle the cheddar and mozzarella cheeses generously over the chips.
Layer Toppings
Add sliced jalapeños, diced tomatoes, and green onions over the cheese.
Bake
Place the baking sheet in the preheated oven and bake for 10 minutes, or until the cheese is bubbly and melted.
Serve
Remove from the oven and top with freshly chopped cilantro, then serve with sour cream and guacamole.
Enjoy your delicious loaded nachos while they are still warm!
Pro Tips
- For an extra kick, try adding cooked ground beef or beans as a base layer before the cheese.
Make-Ahead Tips
To save time, you can prep the toppings ahead of time. Chop the tomatoes, jalapeños, and green onions in advance and store them in airtight containers in the fridge for up to 3 days. Just be careful to drain excess moisture from tomatoes to keep your nachos crispy when baked. Assemble and bake your nachos right before serving for the freshest taste.
If you're anticipating a crowd, consider scaling the recipe. Simply multiply each ingredient. Just remember to use multiple baking sheets to prevent overcrowding, which can lead to uneven baking. When increasing the amount, keep an eye on the baking time, as larger batches may take a few extra minutes to bubble up nicely.
Storing and Reheating
Nachos are best enjoyed fresh, but if you happen to have leftovers, you can store them in the fridge for up to 2 days. To reheat, spread them on a baking sheet and place them in a preheated oven at 350°F (175°C) for about 5-10 minutes. You might not achieve the same crispiness as when freshly baked, but this method will help prevent them from becoming too soggy.
If you're thinking about freezing nachos, do so before baking. Prepare all the ingredients as you would but skip the oven. Layer everything on a baking sheet, cover tightly with plastic wrap, and freeze. When ready to serve, bake directly from frozen, allowing for an extra 5-7 minutes of cooking time to ensure the cheese melts thoroughly.
Questions About Recipes
→ Can I use different types of cheese?
Absolutely! Feel free to mix cheeses like Monterey Jack or pepper jack for added flavor.
→ Can I make this vegetarian?
Yes, you can omit meat toppings and load up on additional vegetables instead.
→ How can I store leftovers?
Store any leftovers in an airtight container in the refrigerator for up to 2 days, but nachos are best eaten fresh!
→ Can I make nachos in the microwave?
Yes, you can, but baking brings a superior texture and flavor!
Loaded Nachos Recipe
What You'll Need
Ingredients
- Tortilla chips (300g)
- Shredded cheddar cheese (200g)
- Shredded mozzarella cheese (100g)
- Sliced jalapeños (to taste)
- Diced tomatoes (1 cup)
- Chopped green onions (1/2 cup)
- Sour cream (for serving)
- Guacamole (for serving)
- Fresh cilantro (for garnish)
How-To Steps
Spread a layer of tortilla chips on a large baking sheet, ensuring they cover the bottom evenly.
Sprinkle the cheddar and mozzarella cheeses generously over the chips.
Add sliced jalapeños, diced tomatoes, and green onions over the cheese.
Place the baking sheet in the preheated oven and bake for 10 minutes, or until the cheese is bubbly and melted.
Remove from the oven and top with freshly chopped cilantro, then serve with sour cream and guacamole.
Extra Tips
- For an extra kick, try adding cooked ground beef or beans as a base layer before the cheese.
Nutritional Breakdown (Per Serving)
- Calories: 450 kcal
- Total Fat: 28g
- Saturated Fat: 15g
- Cholesterol: 50mg
- Sodium: 600mg
- Total Carbohydrates: 36g
- Dietary Fiber: 4g
- Sugars: 2g
- Protein: 12g